It’s reaching that time where it’s the end of the school year. Every week for the past nine months, your children have been bringing home their school papers and on the very last day of school they are bound to bring home plenty more. You have mounds and mounds of paper clutter scattered throughout the house that you don’t know what to do with and you are wondering if you should just throw it all out or stuff it all into boxes and folders. Here is how to neatly and systematically organize school papers and keepsakes.
Now you have few options when it come to how to organize all these school papers.
- You can look at them all and then choose to throw them all out. This is by far the easiest, least stressful and least sentimental option and it’s a totally fine option as well. If you wanted to save some of the memories you could take pictures of your favorites so you have a digital file of the school papers before throwing out the physical ones.
- You can let them continue to drift through your house in piles and boxes. You can stuff them into a crate or bin and shove them all into storage. You can keep everything and not go through the trouble of sorting through it. This option is more cluttered, less time consuming, very sentimental and takes up more storage space. It also does not require a ton of thought and therefore might be simpler than sorting through it all.
- Or you could do the third option which takes a little more thoughtfulness, effort and time but yields a much more tidy and rewarding result that preserves the school keepsakes for years to come. This third option is the way I organize school papers.

Affiliate links included below which means if you click through or purchase something through my links, I’ll receive a small compensation at no cost to you. See full disclosure here.
My daughters bring home a folder every Friday with their school work from the week. Every Friday I sit down and sort through all the papers with them. Sometimes they tell me what they learned and explain each drawing and story, other times I end up sifting through them myself, but either way, I go through them ASAP. After I look through it all I pick out a few choice pieces to save, whether it be the prettiest pictures, the cutest handwritten stories or the most well done worksheets that show what they’ve been learning the best. It usually takes me about 10 to 15 minutes.
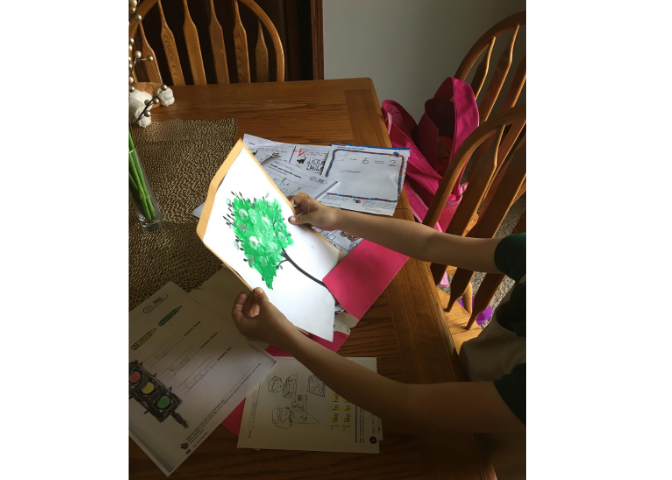
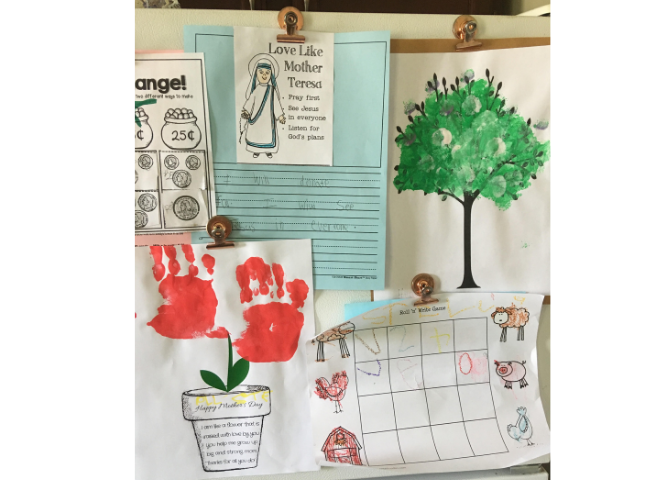
I hang those favorite pieces on the fridge for the week. I take a final look through all the others and snap a few pictures if there are some others I want to remember or if there are oversized pieces/project that won’t fit in a 8 1/2 by 11 binder. Then…..are you ready for this? I THROW ALL THE EXTRAS OUT.
No regrets, no guilt, the other 25 pieces of paper go straight into the trash because first off, I don’t have space for all of them, secondly, I took the time to look through them already so I can appreciate what my kids learned for the week, and lastly I don’t have to save every piece of artwork to feel like a good mom.
I throw them out usually when my kids are not looking and they have never once asked for specific ones that were thrown away. For us that system works well without anyone getting upset. Out of sight, out of mind.
If your kids have a hard time letting go of things, it could be an opportunity to teach them about de-cluttering. “We don’t have enough room for all these papers so we can only keep some of them, our favorite ones.” Maybe even have them help pick out the favorites if that is helpful for them to be involved in the process. Do what works best for your family.
I let the pieces I saved hang on the fridge for the week and then when they next Friday rolls around and the folders come home I repeat the process again: taking the old papers off the fridge and hanging the brand new ones up that I’ve sorted through and picked out.
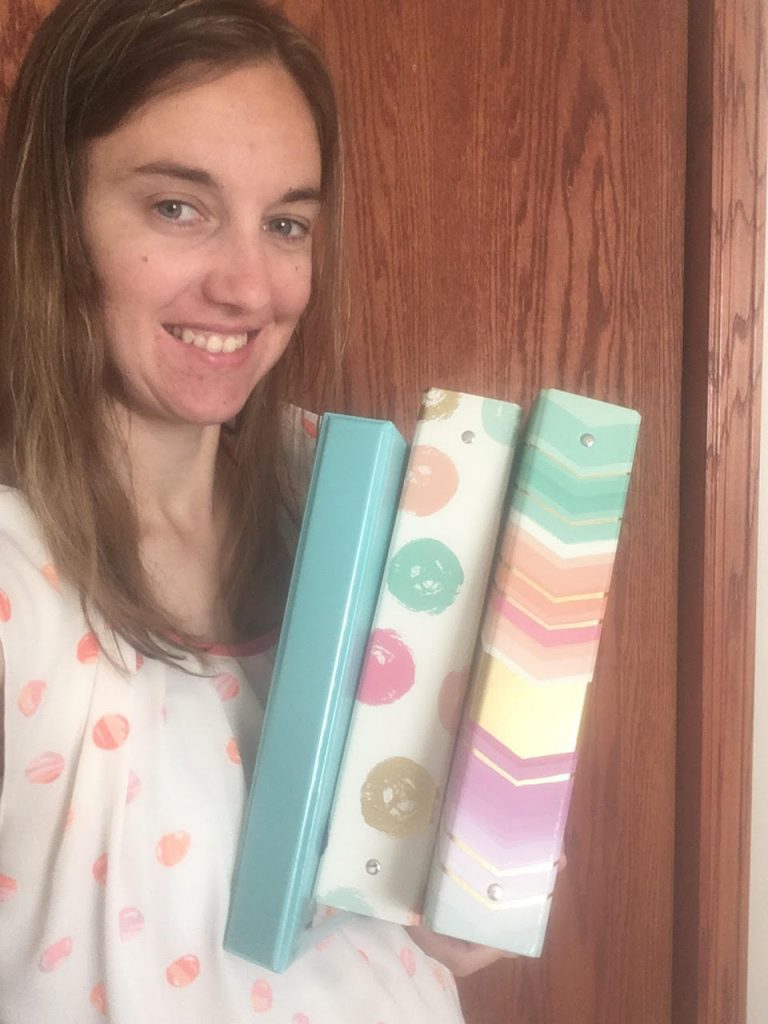
Now what do I do the stack of old papers from last week that I just took off the fridge? Well those go into our school keepsakes binders. I have one three ring 8 1/2 by 11 inch binder for each child for each school year. I buy a bunch of the clear sheet protectors to put in the binders then I slip the papers into those clear sheets. I do this every week so that by the end of the school year they are all chronologically organized and the binder is full.
Get the clear sheet protectors in bulk on Amazon and save BIG. At Walmart the same kind are like 2 bucks for 10 sheets. On Amazon you can get 100 sheets for 10 dollars!
Now if it gets too full by the end of the year I can go through a purging process and take out my least favorite ones of the papers I’ve saved and throw those out as well. I also like to add in school pictures and school events as well since I’m a scrapbook-er at heart.
So at the end of the year (or throughout the year if I have time), I print off some pictures from different school events and significant moments and I add scrapbook paper, stickers and titles and then slip those memory pages in alongside the school papers. I do this as chronologically as possible so that it’s systematically organized.
If you don’t want to go full out scrapbook crazy, you can also just purchase the clear plastic photo sheets for 4 by 6 photos and slip those into the three ring binder with your chosen school photos.
As a finishing touch, you can add your child’s name, grade or picture to the front of the binder or along the binding on the side if you get the kind that have a plastic covering on the outside.
Now obviously if it’s in the end of the school year and you haven’t been sorting through the papers all along then you are going to have more work to do all at once. But don’t lose heart, you can still get the papers under control within a few hours without simply throwing them all away. (Which you can still do as well, if that’s what you really want.)
But if you want to try my method, you can gather all the papers from the year, figure out what criteria you want to use to sort them, ie. best artwork, best handwriting, best graded ones, most creative, ect. Use whatever selection process you want and save as many as you want as long as you have the room and the time.
I just recommend if you want them all to fit in one binder, save 1 to 4 pieces from each week. Or approximately 40 to 164 from the year. Then if you like this method and catch up on all the papers at the end of this year, you can start fresh in the fall and use the process from the beginning of school, either weekly or monthly to organize school papers and keepsakes.

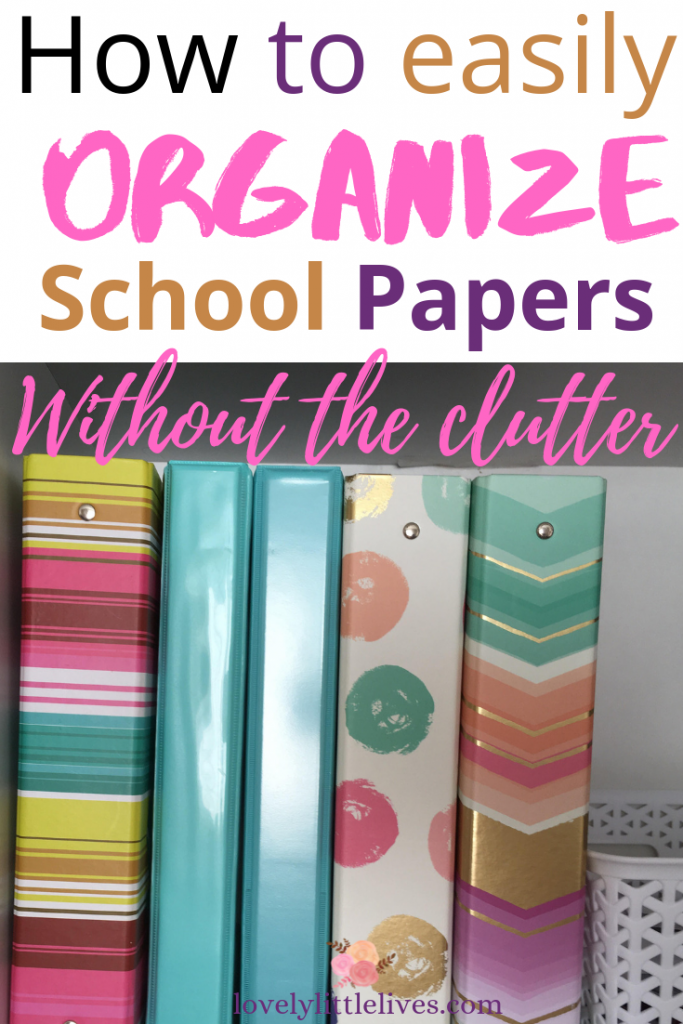
The thing that I love about using the memory binder method instead of just a box or filing system, is that it not only protects the school keepsakes with the plastic sheets, but it also makes them easy and pleasing to flip through and admire. Plus you’ll get a major head start on that high school graduation display table by having all the school years categorized and preserved. I display mine all together on a bookshelf so they are easy to pull down and look through whenever we want.
Now as your kids get older, you will probably have less art work and more worksheets and test scores. So your binders may get smaller as your kids grow and that is completely fine. You can also add in more pictures of their bigger projects and achievements that won’t fit in a binder. That way you still have the memories and the documentation of their hard work and academic milestones.
So what are you waiting for? Get those school papers and keepsakes organized!

“Finally, brothers and sisters, whatever is true, whatever is noble, whatever is right, whatever is pure, whatever is lovely, whatever is admirable—if anything is excellent or praiseworthy—think about such things” Philippians 4:8.
